How to use VSCode/Cursor for iOS development
Recently, there’s been much talk and fuss about AI, and whether or not it can improve your development workflow. I wanted to touch base about how AI and its implementation in Cursor have been significantly improving my speed and efficiency.
In short, Cursor is a fork of VSCode with many code editing AI-assisted features built in. If you've played with Copilot in VSCode, you might know what I’m talking about. Well, think Copilot, but ten times better and with many other useful features aimed at productivity.
This story is about how I’ve been using it and setting it up for my open-source project SwiftUI Mastodon client, Ice Cubes.
It’s only been a few weeks since I completely switched to it, so this story is mostly about setting it up and using the basic features. However, you can expect a follow-up article about how to turbocharge your workflow even more from here.
What do you need?
Well, first, you need to download Cursor. It’s free, but some features I’ll demo later require a $20 subscription. I’m not trying to sell anything here; you can figure out for yourself if it’s worth it. The free tier allows you to use it for a bit. Also, you can add your own OpenAI, Claude, and Gemini keys in the settings if you’re already paying for those.
Once downloaded, you’ll need to install a few extensions and brew formula.
brew install xcode-build-server
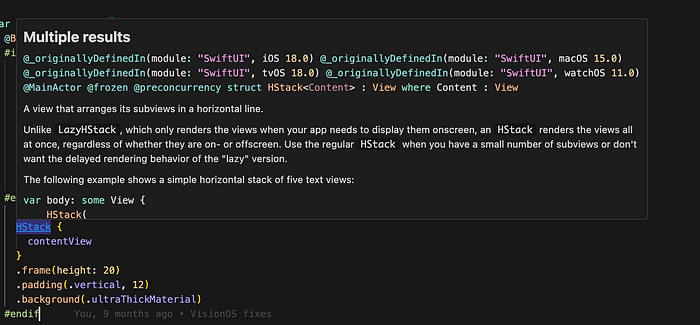
This will allow sourcekit-LSP to work outside of Xcode, so you’ll get all the features like jump to definition, see all references, call tree analysis, etc.… Almost everything you get in Xcode while editing code, you’ll also get it in Cursor.
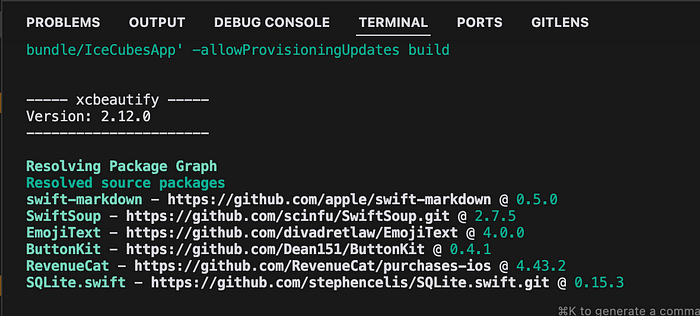
Next, xcbeautify
brew install xcbeautify
This will pretty print the xcodebuild output within Cursor terminal.
And Swift format, if you don’t already have it.
brew install swiftformat
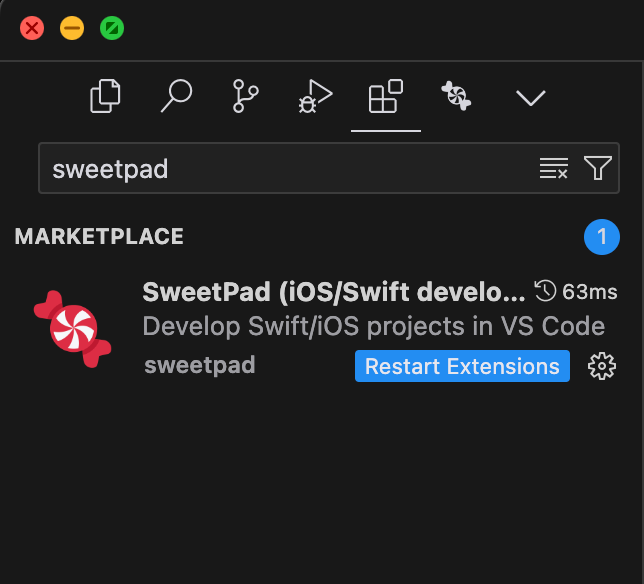
Then launch Cursor, open the extensions tab, and install
So you’ll get syntax highlight and all the Swift language feature
Sweetpad is the bread and butter that allows this whole flow outside of the Xcode GUI to work. You should browse the extension's website and familiarize yourself with its features, shortcuts, how it works, etc… I’ll talk about some of them in this article, but not all of them.
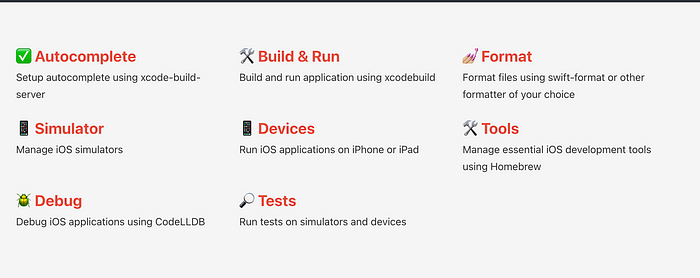
Sweetpad wraps a bunch of shortcuts around xcodebuild CLI (and much more), and allows you to scan your targets, select the destination, build, and run your app just like Xcode. On top of that, it’ll set up your project for Xcode Build Server so you get all the features mentioned above.
So, once Sweetpad is installed, open the command palette using CMD+SHIFT+P and select
Sweetpad: Generate Build Server Config

This will create a buildServer.json at the root of your directory and allow Xcode Build Server to work with your project directory.
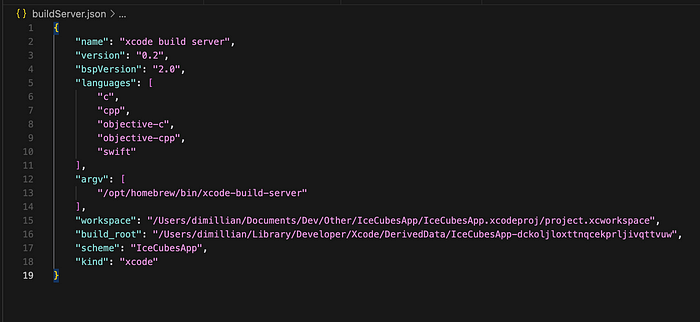
Once that is done, hit build & run (from the commands palette or use the Sweetpad tab in Cursor (you should pin it)). From there, you can browse all your targets and hit run on any of them.
Building your project at least once at this stage is important to get the various features like autocomplete, jump to reference, etc…

From there, you can now attach the debugger using F5. You might need to create a launch configuration for debug mode, but just select Sweetpad when prompted. Then you can use build & run and then attach the debugger later. Or you can build + attach the debugger using the Run & Debug tab “Attach to running app” action. If your app is not running, it’ll build it, run it, and then attach the debugger anyway.
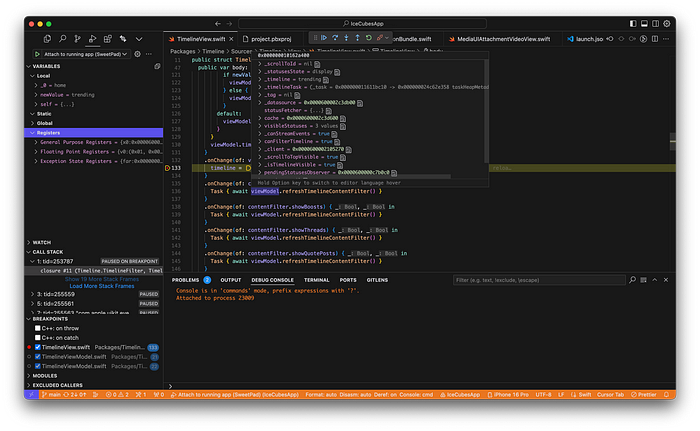
You’ll get all the features you get in Xcode and more! Breakpoints, see the callstack, pint and print variables, jump to the next line etc…
Your ./vscode/launch.json should look like that:
{
    "version": "0.2.0",
    "configurations": [

        {
            "type": "sweetpad-lldb",
            "request": "launch",
            "name": "Attach to running app (SweetPad)",
            "preLaunchTask": "sweetpad: launch"
        }
    ]
}
What features do you get with Cursor?
Once all of the above is done, we can start coding! And this is where Cursor makes all the difference compared to Xcode.
Cursor Tab
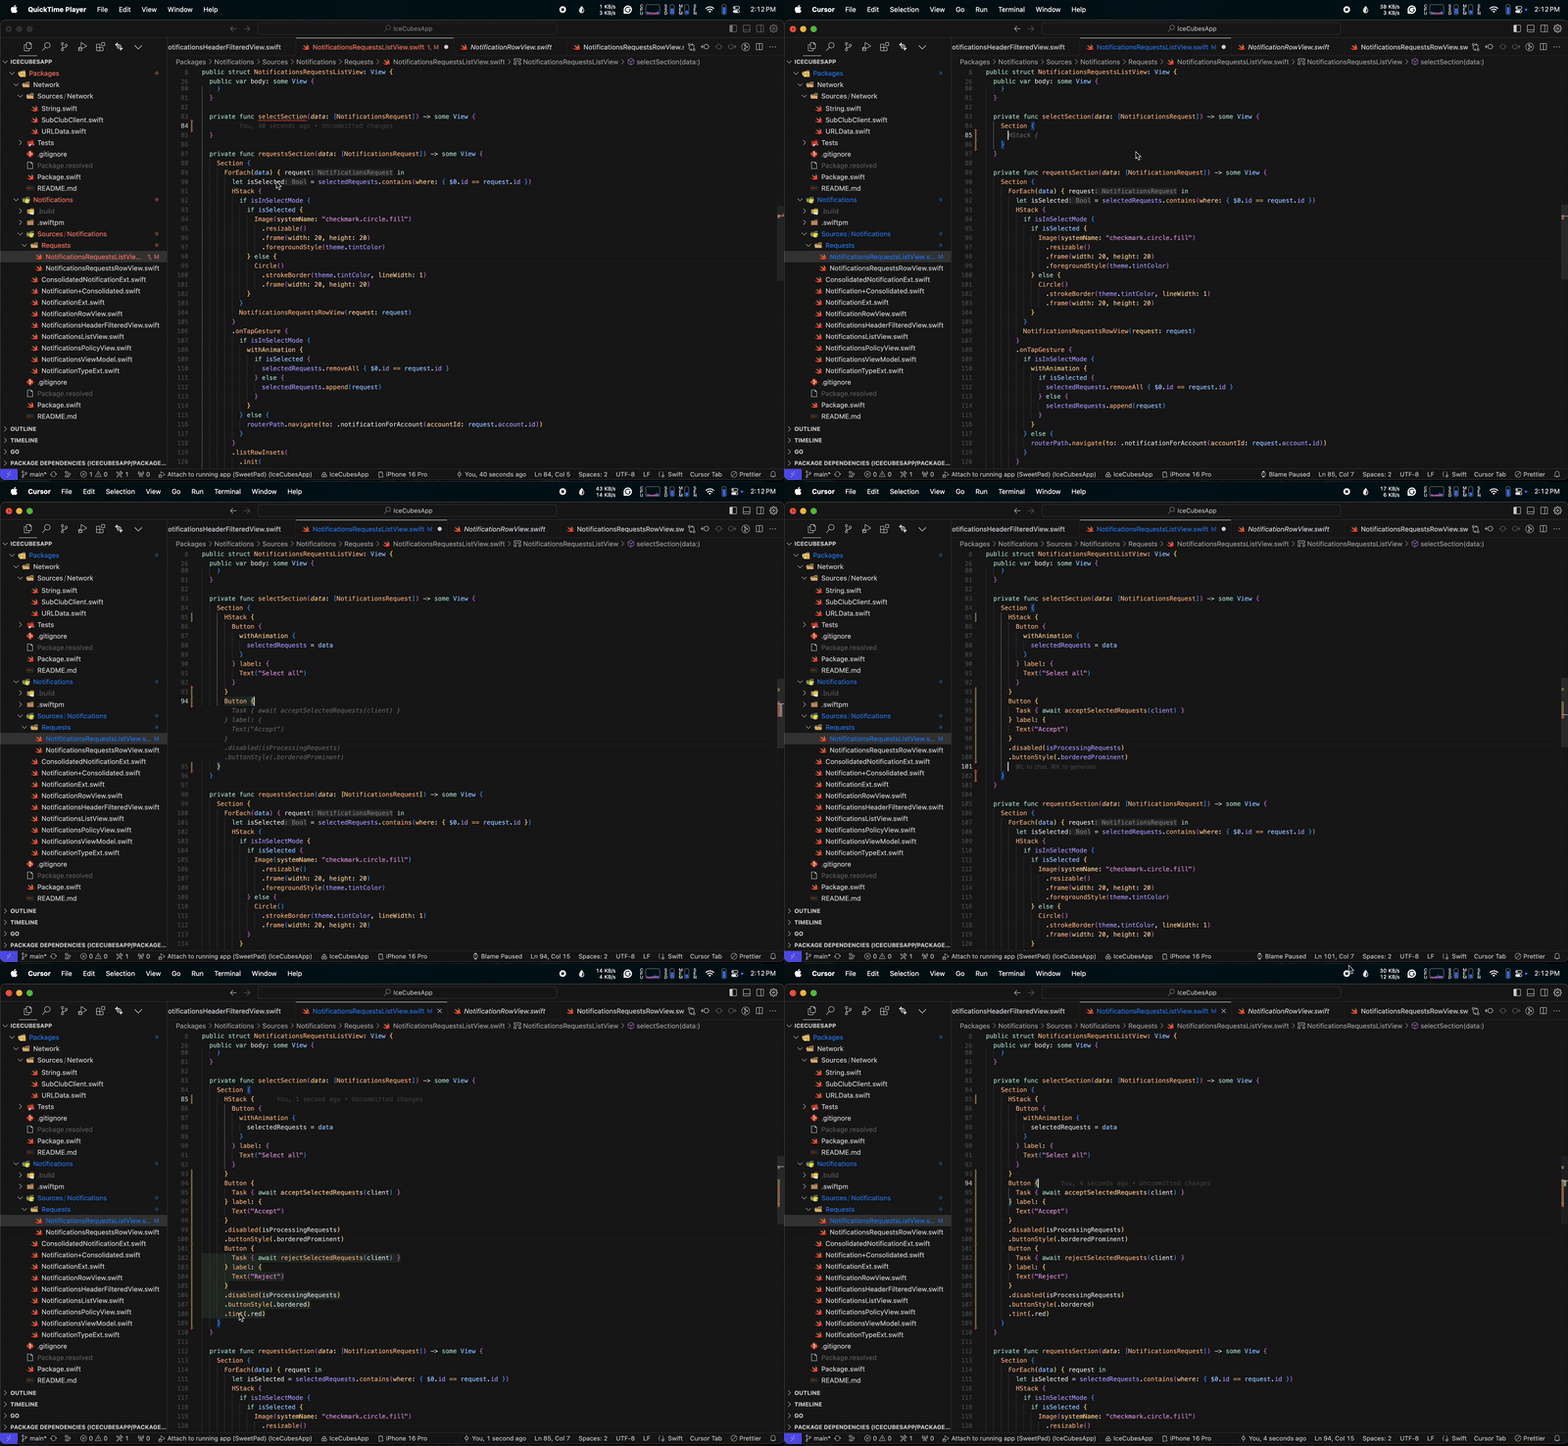
While the standard SourceKit autocomplete works, Cursor has its own AI-based autocompletion that can predict your next edit. And it also index your project to do some custom embedding on their custom models so you get completion tailored for your project.
In my case, when working on a new feature, Cursor knows almost exactly what I want to write next, and I just hit the tab. Look at the example above, and it added a section with three buttons to filter some notifications, it got all the context from what I was doing on the models / API side of things, and wrote the UI code (and most of the HTTP code)
This is not at all; if you change some logic or naming in some code, it is smart enough to change the related code to accommodate your new logic or naming. It’ll suggest the change around, and you can just hit the tab to apply and jump to the next change.
This feature alone is a game-changer for me. It’s just THAT much faster at writing code. The important thing is that it's still my code, with my style, fitting in the project. Sure, I have to edit part of it sometimes, but most of the time, it just fits.
Inline edit
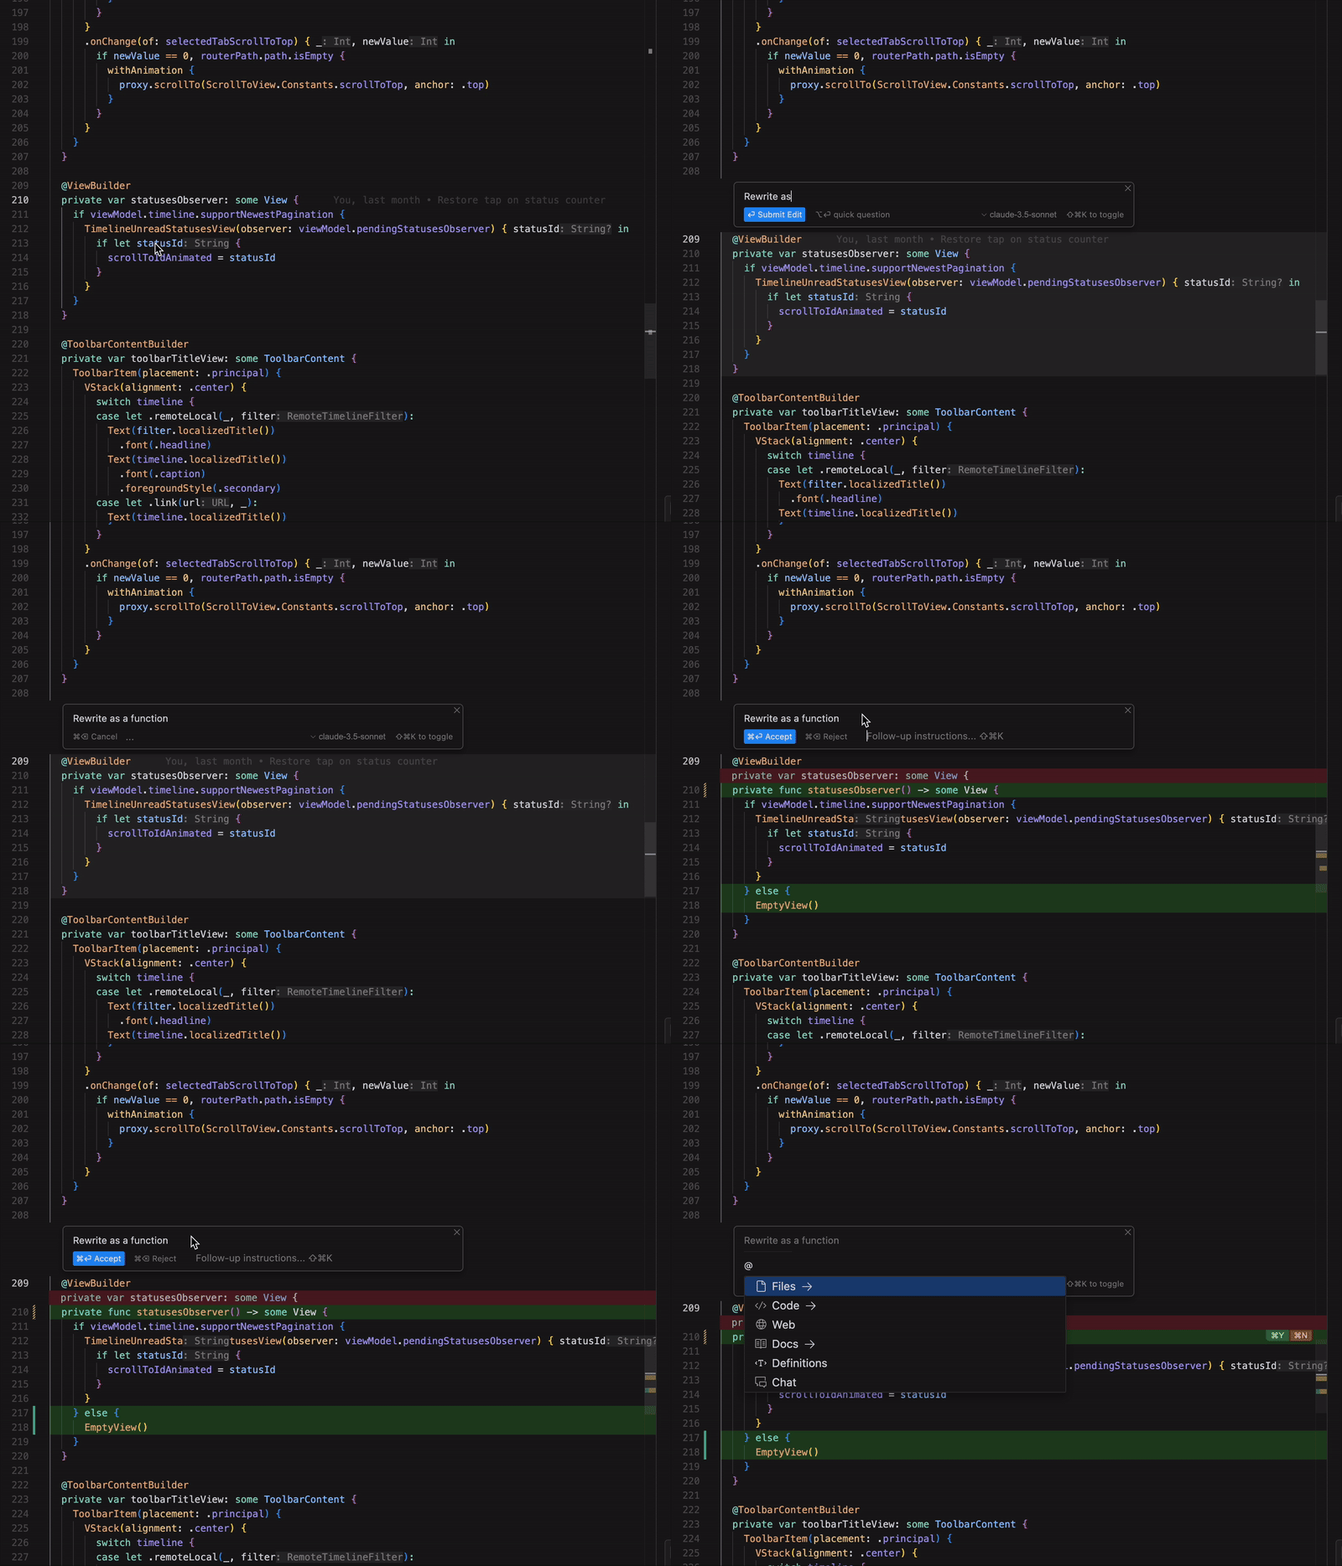
Hitting CMD+K on an empty line will allow you to generate in-context code from any prompt. You can also hit CMD+K on a line of code, which will embed the relevant piece of code in the prompt. From there, you can write a prompt asking for a refactor or anything you want really.
Chat
The next awesome feature is the Chat feature. Whenever you feel like asking questions about anything coding-related, your current or multiple files, just hit CMD+L to open the chat panel.
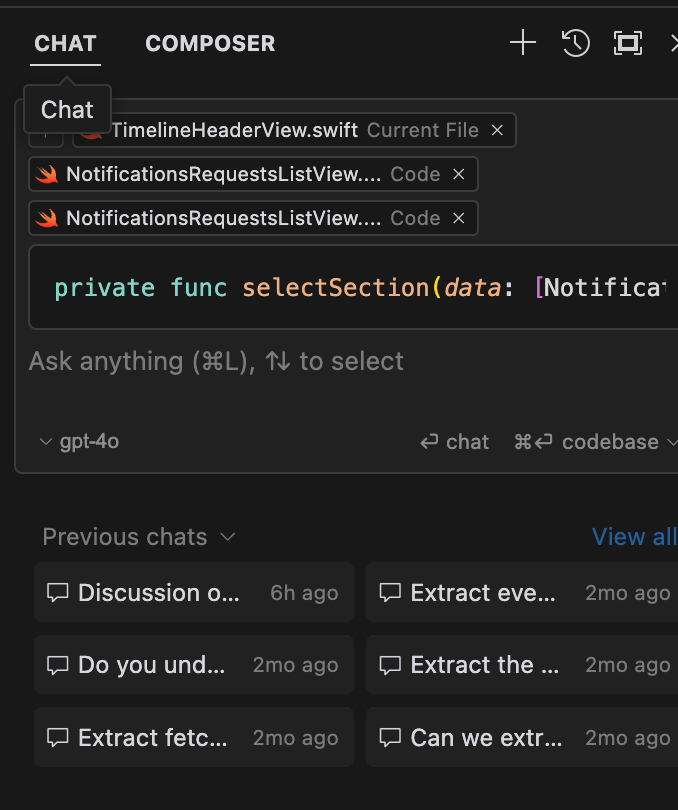
From there, you can select the model you want to talk to (all included in the Cursor subscription), embed part of any code, add files to the current context, etc…
I use it often to talk about architecture or understand why the code behaves one way or another. Sure, you could use the ChatGPT or Claude web-based UI, but Cursor allows you to do that without switching context, right from your code editor, with many shortcuts to embed your current code easily. This, to me, is why coding with it is just so much better and faster.

For example, in the example above, I want to check for Swift Concurrency Reentrency issue. We chatted back and forth and checked how to prevent the problem or enhance the code.
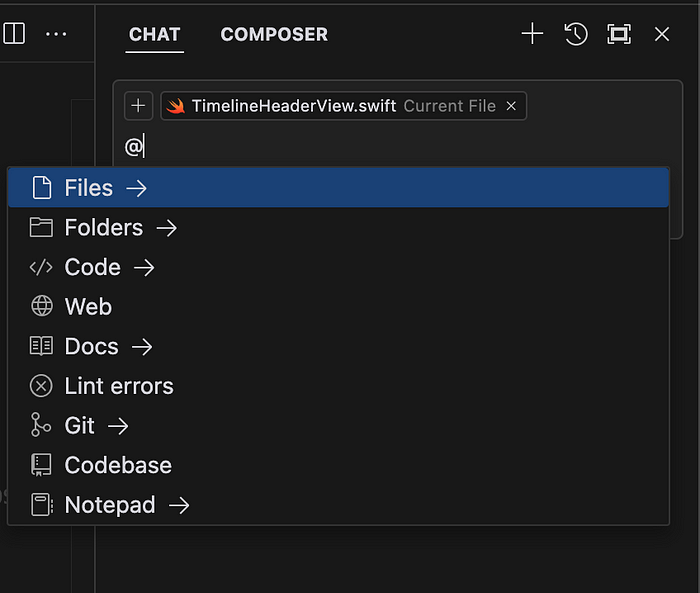
From there, once you’re happy with a code suggestion, you can hit the apply button, and Cursor will apply it as a git diff you can partially accept/reject, edit further, etc…
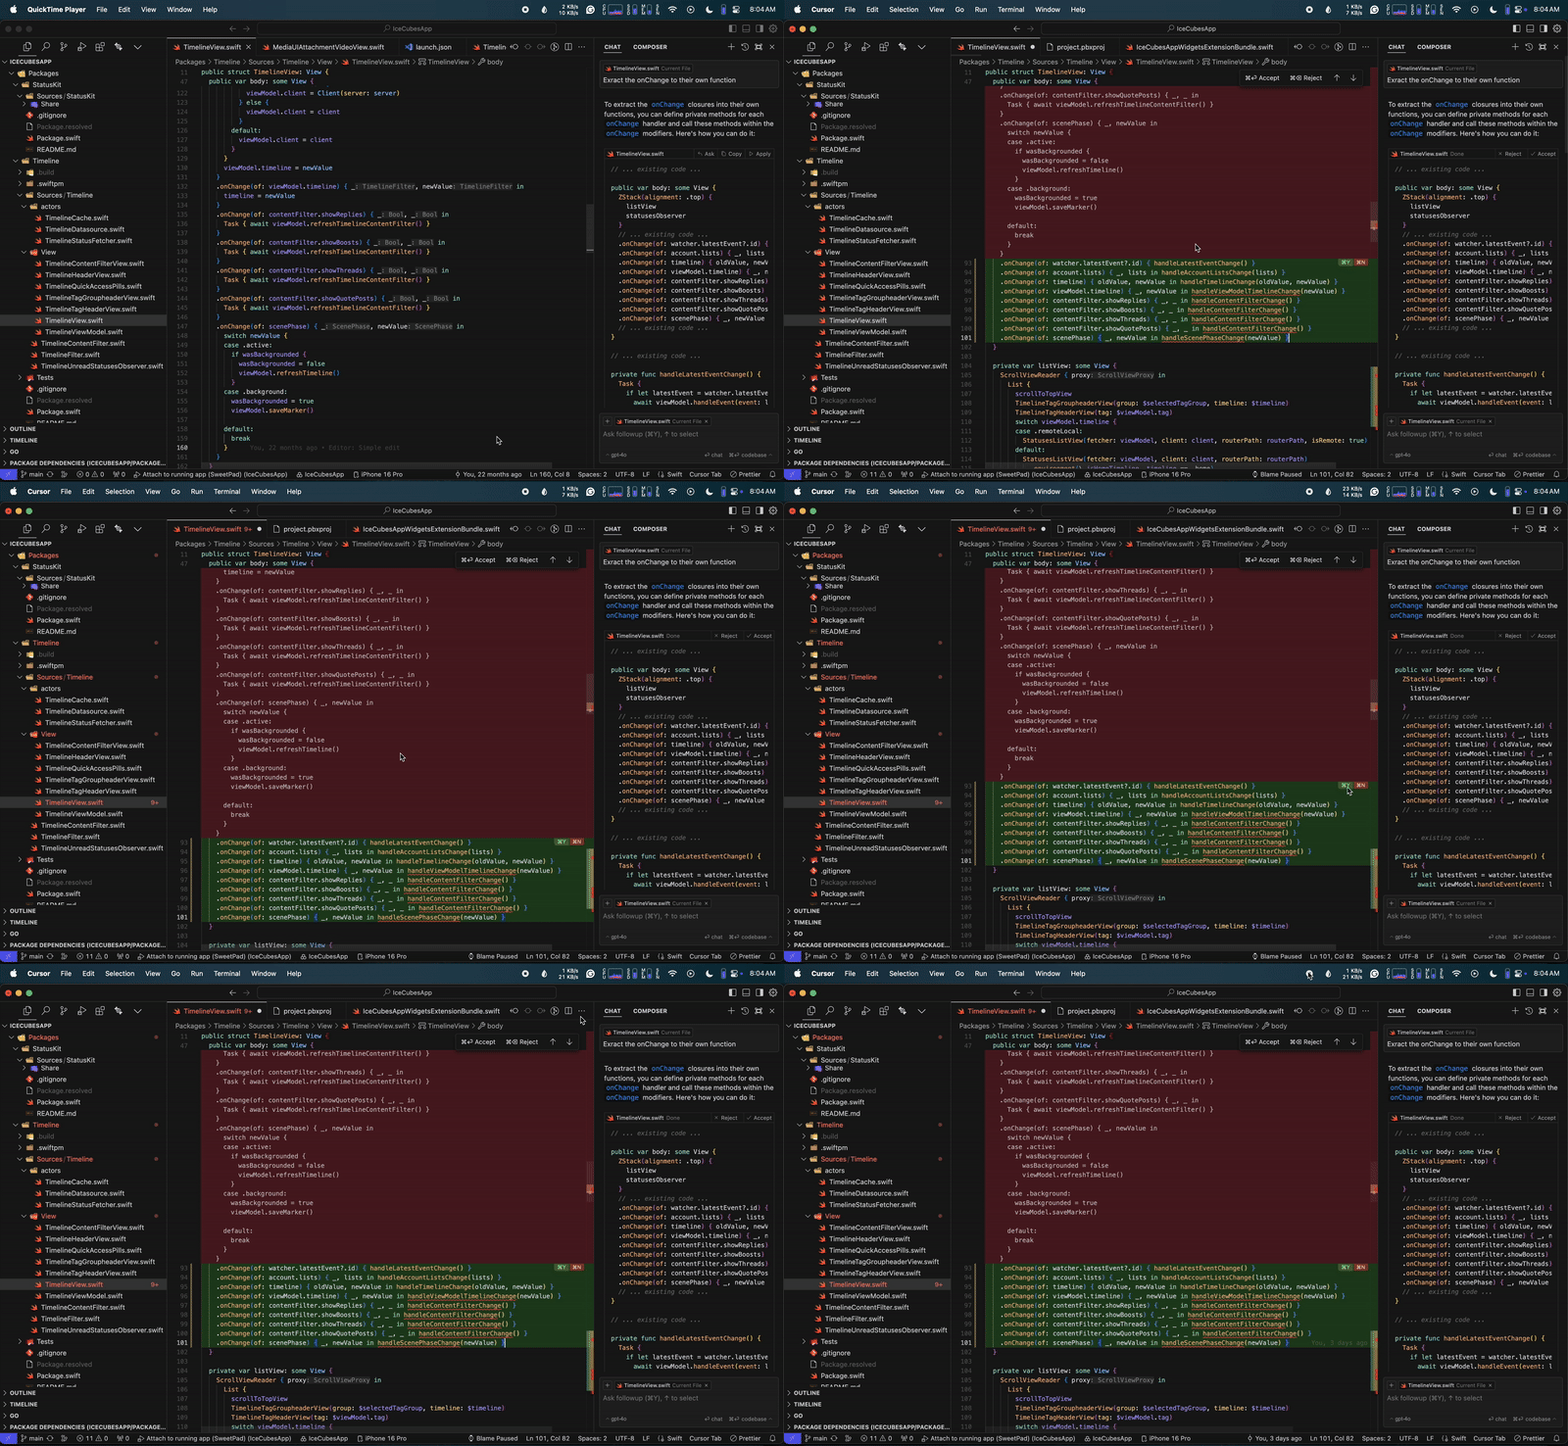
The Composer
This feature is close to the chat but valuable if you want to bulk edit or generate multiple files. I’m not yet using it as often as I should, but it could be pretty helpful with a very detailed prompt to set up new projects from the ground up, for example.

And I think I’ll stop there for now; while this is not as in-depth as I would want it to be, as I don’t have an infinite amount of time to write, I hope you enjoy this new perspective on working with your iOS project with an editor other than Xcode.
If you want to learn more, I’ve heard that Rudrank is writing a book at tabtocode.com that you should definitely get if you’re interested in this!
🚀 Happy coding!
